好些天没有写博客了,经常感觉自己是一个虎头蛇尾的人,刚接触或者兴致来的时候干劲十足,但是坚持不了多久。搭建这个博客系统就是为了能够给自己一些压力,坚持才是胜利。
这次五一算是很长的一个假期,四天里,我感觉自己过得真的是又颓废又尽兴,每天晚上玩到凌晨四五点,下午三四点才起床,然后又开始玩到凌晨四五点,真的是醉生梦死,太恐怖了!
前言
随着腾讯的大力推广和用户的熟悉,小程序已经应用在很多场景里面,自然而然,也随之衍生出很多开发框架和组件库。这次我写的是使用wepy作为开发框架和使用ColorUI来开发小程序。
开发框架–wepy
wepy是由腾讯官方出品的,让小程序支持组件化开发的框架。从Github的Star数来说,还是可以说得上是一个最受欢迎的小程序框架。
官方文档地址WePY | 小程序组件化开发框架
具体怎么使用我就不说了,毕竟文档说的也比较清楚了,我主要说的是我为什么使用wepy,即他的优势:
- 支持组件化开发(似乎除了原生,其他开发框架都支持)
- 支持 slot 组件内容分发插槽
- 支持 Promise,解决回调烦恼
- 提供的全局拦截器对原生API的请求进行拦截(这一点很赞)
UI组件–ColorUI
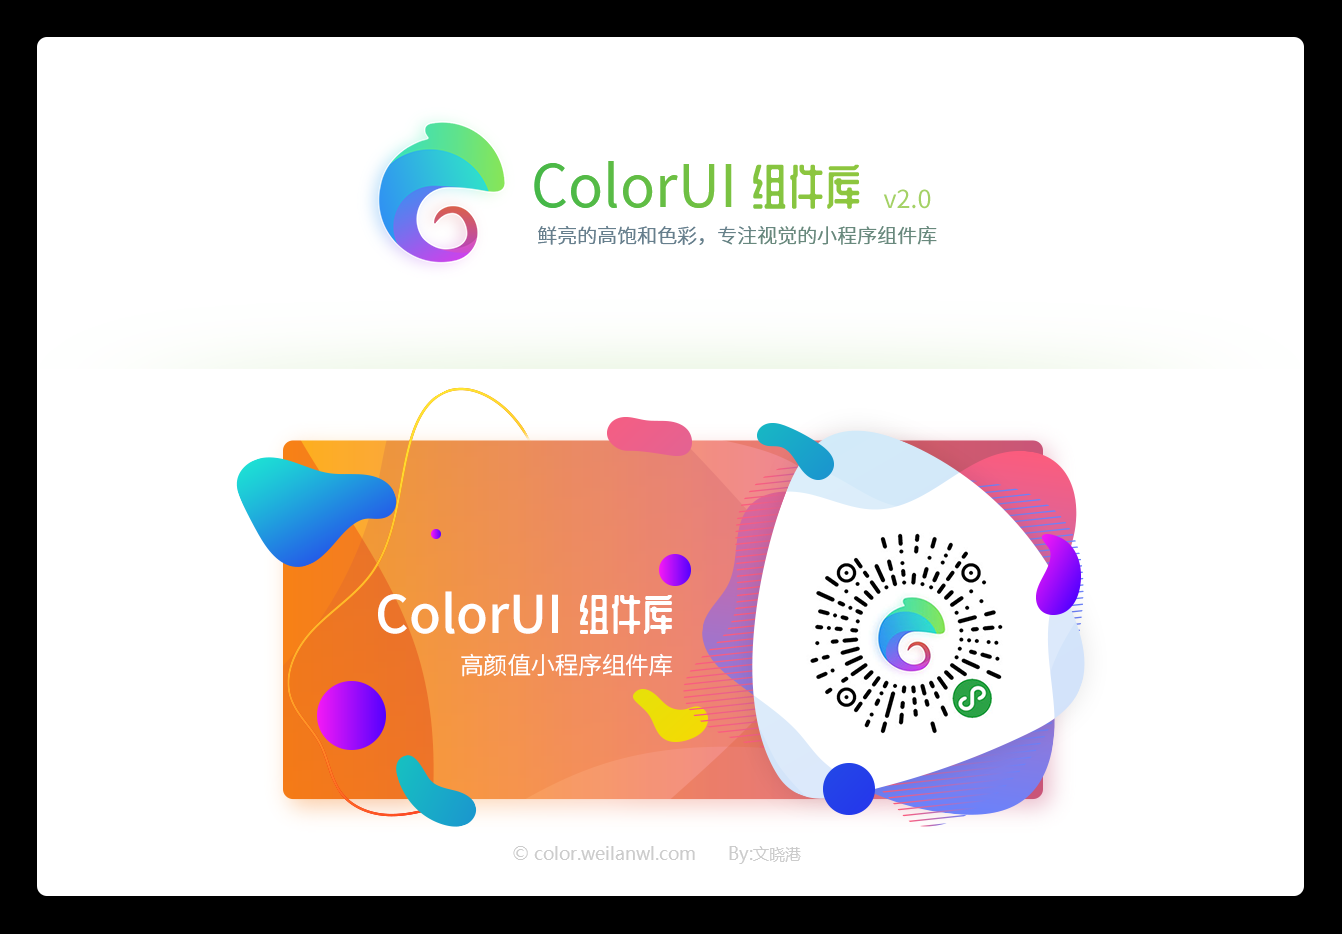
官方文档地址鲜亮的高饱和色彩,专注视觉的小程序组件库
ColorUI是一个css组件库,即所有组件都是通过css实现的,这一点很大佬。而且配色丰富,鲜亮,非常好看。
另外,ColorUI提供了一些很棒的,让人眼前一亮的组件或者案例,很有参考、学习的价值。
结合使用
由于ColorUI官方示例只有使用UniApp开发和原生开发的案例,所以我尝试了在wepy中使用。
同时我也在issues中回答了这个问题,也可以移步这里wepy中怎么引入呢
引入样式文件
引入样式文件和文档介绍没有差别,只需要在app.wpy文件中引入即可
1
2
3
4
5
6
| <style lang="less">
@import "./colorui/main.wxss";
@import "./colorui/icon.wxss";
...
</style>
|
使用自定义导航栏
不得不说,ColorUI的自定义导航栏真的让人眼前一亮
修改配置文件
app.wpy
1
2
3
4
5
6
7
8
9
10
11
12
13
14
15
16
17
18
19
20
21
22
23
24
25
26
27
28
29
30
31
32
33
34
35
36
37
38
| config = {
pages: [
'pages/index'
],
window: {
backgroundTextStyle: 'light',
navigationBarBackgroundColor: '#fff',
navigationBarTitleText: 'WeChat',
navigationBarTextStyle: 'white',
navigationStyle: 'custom'
}
}
globalData = {
userInfo: null,
StatusBar: '',
Custom: '',
CustomBar: {}
}
constructor () {
super()
this.use('requestfix')
}
onLaunch() {
this.testAsync()
wx.getSystemInfo({
success: e => {
this.globalData.StatusBar = e.statusBarHeight
let custom = wx.getMenuButtonBoundingClientRect()
this.globalData.Custom = custom
this.globalData.CustomBar = custom.bottom + custom.top - e.statusBarHeight
}
})
}
|
重写(或者说是复制,因为原生代码几乎不需要改动,复制合并即可)cu-custom组件,因为原生组件中app.globalData获取不到数据
cu-custom.wpy
1
2
3
4
5
6
7
8
9
10
11
12
13
14
15
16
17
18
19
20
21
22
23
24
25
26
27
28
29
30
31
32
33
34
35
36
37
38
39
40
41
42
43
44
45
46
47
48
49
50
51
52
53
54
55
56
57
58
59
60
61
62
63
64
65
66
67
68
| <style lang="less">
</style>
<template>
<view class="cu-custom" style="height: {{CustomBar}}px">
<view class="cu-bar fixed {{bgImage!=''?'none-bg text-white bg-img':''}} {{bgColor}}" style="height:{{CustomBar}}px;padding-top:{{StatusBar}}px;{{bgImage?'background-image:url(' + bgImage+')':''}}">
<view class="action" bindtap="BackPage" wx:if="{{isBack}}">
<text class="cuIcon-back"></text>
<slot name="backText"></slot>
</view>
<view class="action border-custom" wx:if="{{isCustom}}" style="width:{{Custom.width}}px;height:{{Custom.height}}px;margin-left:calc(750rpx - {{Custom.right}}px)">
<text class="cuIcon-back" bindtap="BackPage"></text>
<text class="cuIcon-homefill" bindtap="toHome"></text>
</view>
<view class="content" style="top:{{StatusBar}}px">
<slot name="content"></slot>
</view>
<slot name="right"></slot>
</view>
</view>
</template>
<script>
import wepy from 'wepy'
export default class CuCustom extends wepy.component {
props = {
bgColor: {
type: String,
default: ''
},
isCustom: {
type: [Boolean, String],
default: false
},
isBack: {
type: [Boolean, String],
default: false
},
bgImage: {
type: String,
default: ''
}
}
// 获取导航栏样式信息
data = {
StatusBar: wepy.$instance.globalData.StatusBar,
CustomBar: wepy.$instance.globalData.CustomBar,
Custom: wepy.$instance.globalData.Custom
}
methods = {
BackPage () {
wepy.navigateBack({
delta: 1
})
},
toHome () {
wepy.reLaunch({
url: '/pages/index'
})
}
}
onLoad () {
}
}
</script>
|
在需要的页面在引入
pages/index.wpy
1
2
3
4
5
6
7
8
9
10
11
12
13
14
15
16
17
18
| <template>
<view>
<CuCustom bgColor="bg-gradual-blue">
<view slot="content">导航栏</view>
</CuCustom>
...
</view>
</template>
<script>
import CuCustom from '../components/cu-custom'
export default class Index extends wepy.page {
components = {
CuCustom
}
}
</script>
|
存在问题
每次使用都需要在页面中引入,不怎么方便
 微信打赏
微信打赏